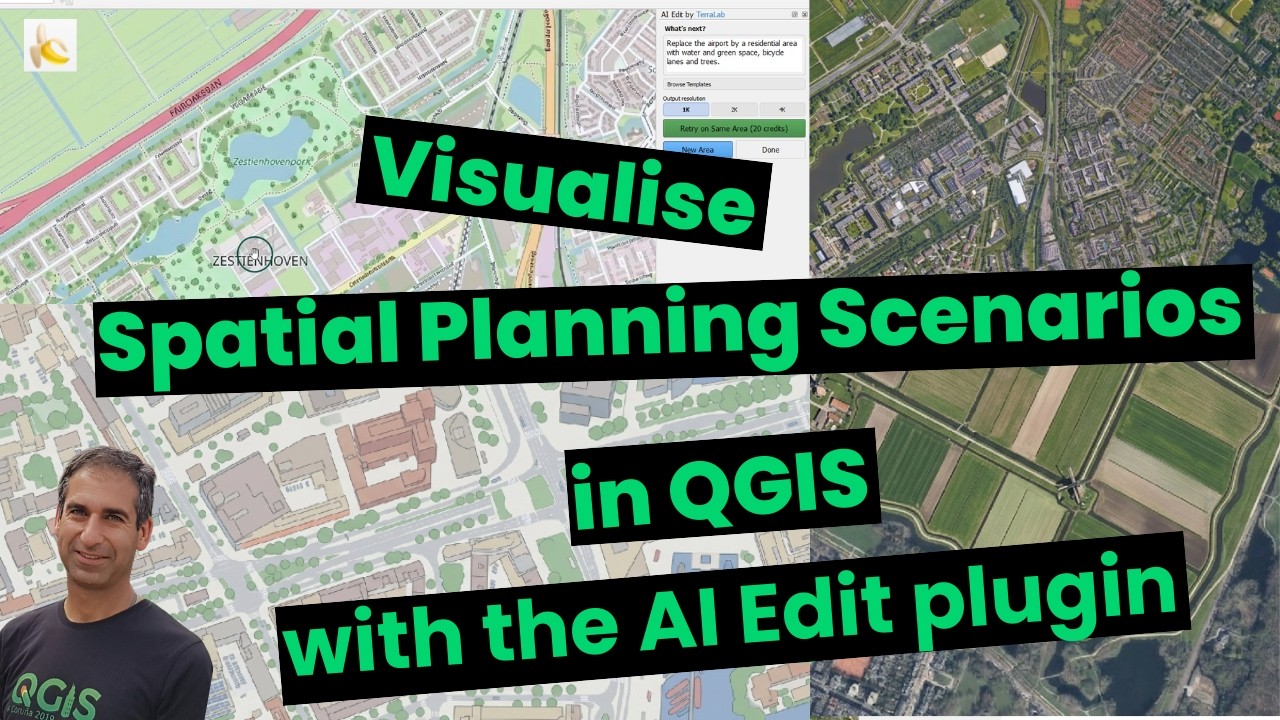
Visualise Spatial Planning Scenarios in QGIS with the AI Edit Plugin by Terralab
Watch on YouTubeVideo summary
The video introduces the AI Edit plugin by Terralab, a powerful tool designed to visualize spatial planning scenarios directly within QGIS. Built upon the Nano Banana 2 engine and identifiable by its distinctive banana icon, the plugin allows users to work with various background layers, including Google satellite imagery from QuickMap Services, aerial photography, drone images, and topographic maps. To begin using the software, users must sign in via a dashboard to obtain an API key, which grants access to 100 free credits; however, these initial credits restrict usage to resolutions lower than 2K and 4K. Once activated, the plugin offers a range of preset prompts categorized for tasks such as cleaning images, adding elements, changing styles, detecting objects, and simulating specific processes like environmental changes or infrastructure development.
The presenter demonstrates the plugin's versatility by transforming the Rotterdam airport area into a mixed-use residential zone featuring social housing, green spaces, and a lake, showcasing how users can define custom prompts to generate realistic urban layouts. The tool further proves its capability by converting OpenStreetMap data into detailed scenario maps and simulating complex events like sea-level rise, where low-lying areas are accurately flooded while bridges remain above water. Additionally, the plugin can add new infrastructure, such as a multi-modal bridge for cars, bicycles, and trams, automatically connecting to the edges of the selected bounding box. Users can choose output resolutions based on their needs, with higher resolutions available for printing but costing more credits, allowing for flexible planning from quick concept sketches to high-fidelity visualizations.
Beyond simple addition or removal of features, the AI Edit plugin excels at modifying existing environments and enhancing image quality. The video illustrates scenarios where flat rooftops are converted into green roofs or equipped with south-facing solar panels with realistic reflections, and where former water bodies in Rotterdam's main streets are restored to include boats and tree-lined shores. It also shows how the tool can repurpose a street into a pedestrian-friendly zone complete with terraces and bicycle lanes. Furthermore, the plugin includes detection capabilities that create masks for objects like buildings and offers style presets that can transform raw aerial photographs into enhanced images with greater contrast or convert them into minimum cartographic maps, significantly improving visual clarity and detail.
The final segment of the demonstration highlights the plugin's ability to integrate diverse data sources, such as local aerial photographs from PDOK Services, to create culturally specific scenarios like a Dutch polder complete with traditional windmills. The presenter notes that while the AI generates separate layers for each modification, allowing them to be superimposed and compared, the results are sometimes limited by the bounding box of the selection area. Despite these constraints, the tool successfully bridges the gap between abstract planning concepts and visual reality, enabling planners to rapidly prototype future scenarios ranging from climate adaptation strategies to urban revitalization projects. The video concludes by encouraging viewers to explore the various preset prompts and custom writing options to unlock the full potential of AI-assisted spatial planning in their own GIS workflows.
Read the full video transcript
[music]
>> Hello, welcome back. In this video, I'm
going to explain how to use the AI edit
plugin by Terralabs for visualizing
spatial planning scenarios.
You can find the AI edit plugin in the
plugins manager. The AI edit plugin is
based on Nano Banana 2
and comes therefore with this cute
banana icon. You can use the plugin with
any backdrop. So here I'm going to
install the QuickMap Services plugin
to have a backdrop from uh the Google
satellite.
You can also use aerial photography or
drone images and even topographic maps.
Let's load the Google satellite image
from the QuickMap Services.
There it is.
And another nice trick is to use the
locator bar to find the address or city.
So here I'm going to demonstrate it for
Rotterdam.
And now we're zoomed in to Rotterdam.
Now we can click the banana to open the
AI edit panel.
There you need to sign in to get your
key. Click the login button.
And then type your email address.
So in your email you'll find a link to
log in to your dashboard and there you
will find a key that you need to copy
and then you can paste it here.
You get 100 free credits and with the
free credits it's not possible to use
the 2K and the 4K resolutions. Expand
paste key and then paste the key there
and click activate.
Now you can use the AI edit plugin.
You can browse AI prompts that are
preset and there are categories for uh
cleaning an image, for adding things to
your image, to change the style or to
detect objects or to simulate certain
processes. So you can have a look at
these preset prompts that you can add to
your own area.
I will demonstrate a few later.
Let's go to the airport of Rotterdam.
There's a plan to change the airport
into a residential area.
Let's try to shape this with a nice
prompt.
Click write your own prompt.
Drag the box.
I wrote the prompt to replace the
airport with a mix of social housing,
suburb residential area,
green and some water.
Let's see what it make.
>> [music]
>> And here's the amazing result. Looks
like a really nice pleasant area to live
with the variety of housing
and with a nice lake
and enough green. Now let's see if it
also can create a nice map out of this
that I can present somewhere.
I browse AI prompts.
I choose style and I'm going to use the
architectural site plan.
Draw the box
on top of the generated image
and see what it makes.
And there's the result.
A super nice map.
>> [music]
>> Let's see if it can also modify
OpenStreetMap.
So I've loaded an OpenStreetMap layer.
I draw the box
and I'm going to use a similar prompt as
before to change the airport into a
residential area.
>> [music]
>> And here's the result.
An amazing OpenStreetMap of the scenario
that we made.
Let's also try one from the simulations.
Let's simulate sea level rise.
I draw a box here in Rotterdam.
Choose slightly higher resolution and
there it goes.
And the result's amazing.
The low areas are flooded.
The bridges are above
which makes sense.
And the low-lying areas are below the
water level.
Let's create a prompt for another future
scenario of a new bridge. Click and drag
a box in the map canvas
and the prompt will be applied to that
area.
So I give a prompt to add a bridge for
cars,
bicycles,
and the tram.
I can choose an output resolution, but
at this zoom level 1K works well.
A higher resolution will cost you more
credits.
You can use the highest resolution for
if you want to print the result.
And now
AI is doing the magic. Let's wait for
the result.
>> [music]
>> And there's the result.
Of course it's limited by the bounding
box, but if we zoom in a bit we can see
here that it did the job and it tries to
connect as much as possible to the edges
of the bounding box.
Now let's move to another area of the
city.
Here in the center we have a lot of flat
roofs that have a high potential for
green roofs or for solar panels.
Let's see if we can use some of the
preset prompts for this.
I browse the AI prompts
and I can also use the search function.
So there is one here for green rooftops.
Then I drag the box
and I click generate.
>> [music]
>> Now that looks lovely with all these
nice green roofs.
Now let's go for another scenario where
we place solar panels on the flat roofs.
Select the area.
And you see that the prompt is quite uh
detailed. It mentions the flat rooftops
and that the panels should face south
with realistic reflections. So let's
see.
>> [music]
>> Now that's a cool result with a lot of
solar energy produced in this area.
But it will be a hard choice between the
green roofs and the solar panels.
And you can see that each uh result is a
separate layer that we can superimpose
on each other. In the past the main axis
of Rotterdam were water bodies.
Let's change them back to nice water
bodies.
I select here one of the main streets.
So here formulate a prompt to replace
the road by water and make the shores
green, add some trees and boats. Let's
see what it does.
Now here's the result and that's very
cool as you can see.
We chose a higher resolution and here
you see the boats in the water.
Let's go to the next item on my wish
list for the city. There's this nice
street where people go out especially in
the weekend but are disturbed by traffic
passing the road. What if this would be
a pedestrian area with terraces and some
green?
So try to select the road.
I'm adding a prompt here to have uh
pedestrians and green space and bicycle
lanes.
Let's see what it does.
>> [music]
>> Well, that looks really great.
Look at this. What a nice street
with all these terraces and just
bicycles
and pedestrians.
And nicely paved, too.
To demonstrate that you can also use
other layers, online aerial photographs
or local ones, I'm adding here an aerial
photograph from the Netherlands using
the PDOK Services plugin.
And here we have the aerial photograph.
And I'm going to write a prompt for this
lake.
And I would like to change the lake into
a polder with agriculture and
traditional Dutch windmills. Let's see
[snorts] what it does.
>> [music]
>> Wow, that's very cool.
A typical Dutch polder with traditional
windmills. Let's zoom in to see more
details. That looks great.
Although I really prefer the lake.
Let's see how one of the presets work
for detection of for example buildings.
I browse the AI prompts.
I select detect buildings
and in the prompt it specifies the
colors to give to the buildings and the
background. It creates a mask.
>> [music]
>> And here's the result.
Let's check it with the MapSwipe tool
plugin.
And here we see that it detected most of
the buildings, not all,
but it goes quite well.
Let's try another one to add some trees
to this uh bare area.
Add trees along road.
Let's select this main shopping road.
And there we go.
>> [music]
>> And the result is amazing.
A lot more trees there.
Next, I'm going to use an AI prompt to
enhance this aerial photograph.
So, I'm going to zoom in quite a bit.
Here to this building.
Click browse AI prompts and I choose to
enhance
the aerial photograph here.
And the result is amazing.
We see far more contrast and detail
here.
>> [music]
>> I compare the two.
It's quite some difference. Now, let's
try one from the style category.
Let's make a minimum cartographic map.
And this is a really cool result where
you can see the buildings nicely styled.
And the trees there. Fantastic.
I hope you've enjoyed this video. Stay
tuned for more content.
>> [music]