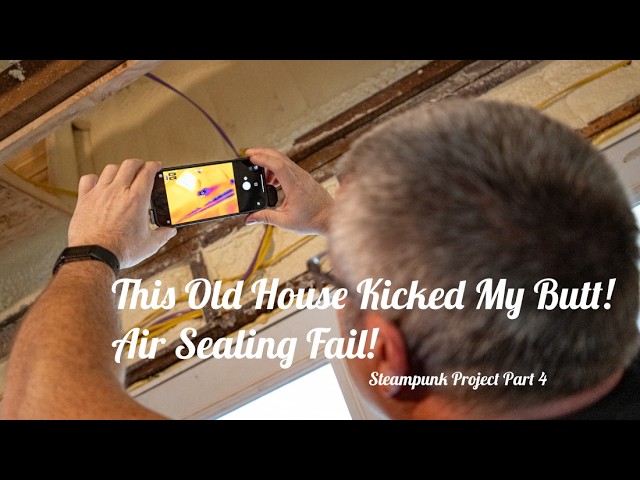
This Old House Kicked My Butt! Air Sealing Fail - Steampunk Pt 4
Watch on YouTubeVideo summary
In this episode of the Steampunk Project series, host Nate Adams addresses a critical aspect of home renovation: air sealing. He explains that creating a tight building envelope is essential for maintaining comfort, health, and energy efficiency by preventing unwanted heat loss or gain as well as moisture intrusion. To assess the initial condition of the 900-square-foot house, which was currently leaking at over 3,000 cubic feet per minute despite having spray foam insulation, Nate utilizes a blower door to depressurize the structure and an infrared camera attached to his phone to visualize temperature differences caused by air leaks. He also employs smoke pencils to pinpoint specific escape routes for air around windows, wall plates, corners, and structural joints.
The team identifies several significant leakage points that require immediate attention during their sealing process. One major issue is a small framed section near the top of the house that alone accounts for 250 cubic feet per minute in airflow loss. Another substantial problem involves large gaps behind studs where standard foam cannot fit, necessitating the use of multiple smaller cans to fill voids between two plates at the wall tops. Additionally, structural reinforcements like sistered joists create new leak paths around every connection point throughout the house. Nate emphasizes a specific strategy for addressing these issues: larger openings are filled with spray foam, while smaller gaps and seams are carefully sealed with caulk to ensure a comprehensive barrier against air infiltration.
After dedicating significant time and materials to seal all identified defects over two days, the team returns to the blower door test to evaluate their progress. The results show that they successfully reduced the leakage from above 3,000 down to approximately 1,300 cubic feet per minute. Nate acknowledges that while this is a marked improvement and will make the house super comfortable with low operating costs, it falls short of his ideal target ratio of one leak point per square foot (900). He notes that pushing further toward that goal would require diminishing returns in terms of time spent versus energy saved, leading him to conclude that 1,300 is a sufficient and practical endpoint for this specific project.
Ultimately, Nate accepts the outcome with realistic expectations, admitting that old house framing often presents unique challenges that make achieving perfection difficult without excessive effort or expense. He frames this result as "warts and all," highlighting that while it was not the number he initially hoped for, the achieved level of tightness is plenty good enough to manage indoor air quality effectively. The video serves as an introduction to these concepts, with Nate directing viewers who want deeper knowledge on specific sealing techniques or home comfort strategies to his book, "The Home Comfort Book," and a dedicated online course available through his website.
Read the full video transcript
[music]
Welcome back to the Steampunk Project.
I'm Nate Adams, also known as Nate the
House Whisperer, and today we're going
to be looking at the air sealing on this
project. All right, you know things are
getting serious because the toilet's off
the front porch. [laughter]
Air sealing is super important if you
want to keep a house comfortable and
healthy. A tight house doesn't allow
heat, air, and moisture to come in and
out of the house. So, we want to get the
house tight. So, air leakage is measured
with the blower door, which is the big
fan you see behind me. That either blows
air out of the house or blows air into
the house. And that pressure creates
leaks so that you can figure out where
the problem spots are. The easiest way
to think of this in my mind is a ratio
of the square footage above grounds to
what the blower door says. I find that
when you get the ratio to 1 one, houses
get really controllable. You can have
the HVAC actually keep the house really
comfortable. So, this is about a 900t
house. So, I definitely want to get the
leakage under 900. It's currently above
3,000. Uh, I talked about this in my
book, the the home comfort book. And so,
here's a little graphic from that. The
house is actually still relatively leaky
despite the fact that it's spray foam.
So, it's really important that the job
gets done well on this. And I love how
the contractor did the work on this
house. But, I also wanted to leave this
piece of work for myself. I don't know
quite how low we'll get, and we're going
to find out by the end of this video.
>> [music]
>> So, the tools we're going to use today
are the blower door behind me, and then
I've got an infrared camera, which
attaches to my phone and let you see hot
and cold, which is really cool. And then
I also have this smoke pencil, and this
lets you see where the leaks are as
well. All right, so a couple places that
I know will be leaking are around the
windows, top and bottom of the walls,
and in the corners. So, let's take a
look and see what they look like.
>> [music]
[music]
>> It's 2 days later and we've spent a
whole lot of time and a whole lot of
material getting this little house
sealed up. And I want to point out a
couple of things that we did. So, first
off, going to look at this section up
here is just this little weird framed
section that uh I didn't even notice it
when we were first doing it, but this
little thing here uh was 250 points on
the blower door, which is remarkable for
one leak. Okay, so one of the other big
spots that we had to deal with was
behind this stud was a 4 in x 4 in hole
that needed to get filled in. And there
wasn't a big enough gap there to put the
big foam in. So it took two of these
just to fill the little gap. And it it
was just from about here to about here
was two cans of this foam. So this was
another one of the key things that we
had to deal with. And there were a bunch
of these. All the corners of this house
had issues like this.
All right. And then the next thing is we
needed to get to the top of the wall
here. So see how this has two plates.
It's two top plates. Um this is the top
of the wall, but in between here was
quite leaky. Uh and then note that we
had to coaul up here as well. Um and
then we sistered joist because this
house really needed some help on the
structural front. And uh this was also a
leak here at every one of these points
all the way around the house. So, the
big gaps get foam, the small gaps get
caul.
[music]
Okay, moment of truth. Let's see what
all that work got us. Let's start up the
blower door. I just got to set the
pressure [sighs]
and hit start.
All right. So, we're right about 1300.
Old houses like this have framing that
will drive you bonkers and make it
really hard to get it super tight. Um,
and also there's diminishing returns.
Like, we spent a day and a half getting
it to this number. I can spend another
day and a half or 2 days maybe getting
it to the 900. So, at some point you
just call it good enough. And I feel
like this is there. This house is going
to be super comfortable and it's going
to be very inexpensive to operate and I
can manage the indoor air quality really
well. This is plenty good enough for
what I need on this project.
[music]
All right. Well, I promised warts and
all. There you go. That was not the
number I was hoping for. Such is life.
So, if you want to learn more though
about this, cuz this is really just an
introduction that we're doing here. Uh,
take a look at the home comfort book. A
huge chunk of it is free at natethe
housewisperer.com. And if you want to
learn how to seal your house up with all
the specific things that it has, take a
look at the air sealing course which is
also at nate the housewisperer.com.
So I am Nate the housewisperer. Please
like, subscribe, click the bell, and
share this with people. And if you have
any questions, please post in the
comments and I'll tackle them.
[music]