Video summary
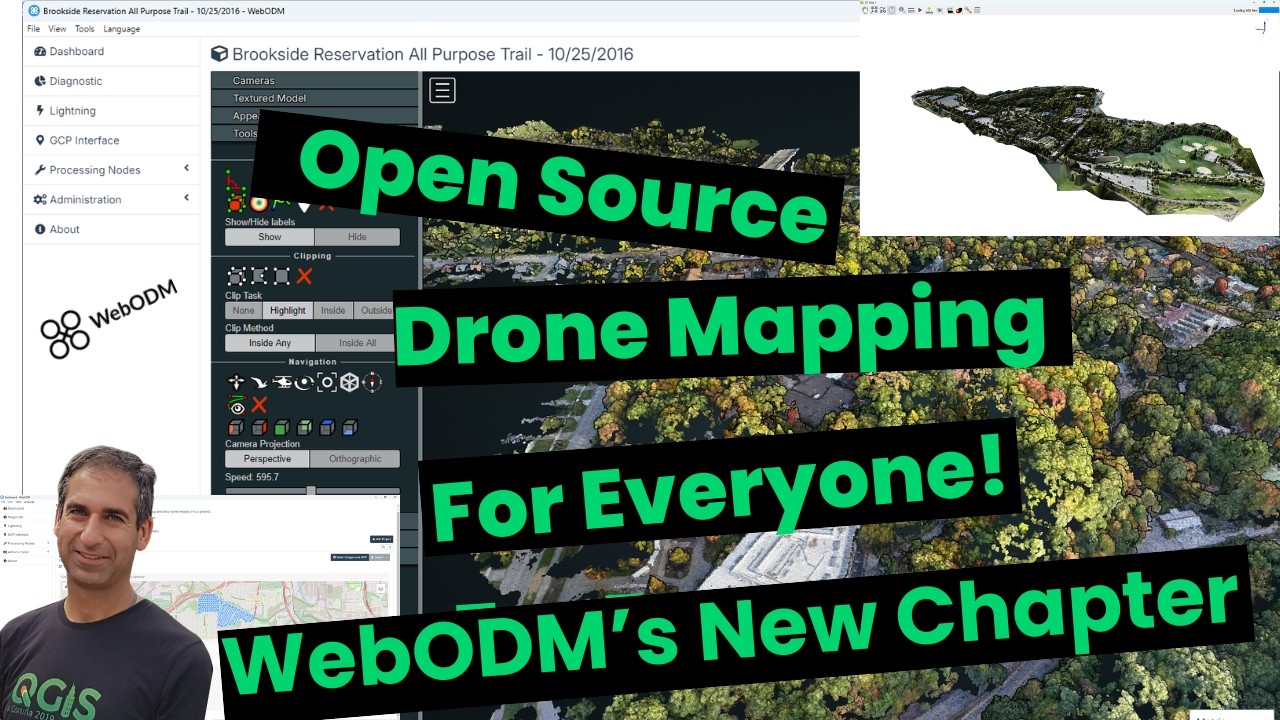
WebODM has officially become an independent project after decoupling from OpenDroneMap, marking a significant evolution in the open-source drone mapping community. For years, users relied on WebODM while facing limited support and confusion due to its intertwined relationship with the broader OpenDroneMap organization. This new chapter allows WebODM to establish its own infrastructure, repositories, and development roadmap, promising more frequent releases, quicker bug fixes, and a responsive cycle that eliminates the need to wait months for updates. The project now features clear branding and dedicated resources for community involvement, ranging from translations and code contributions to regional user groups, ensuring a more sustainable and accessible future for everyone processing drone imagery.
The most immediate benefit for users is the availability of native, user-friendly installers for Windows, macOS, and Linux, which removes the complexity previously associated with Docker containers and command-line setups. The installation process is streamlined through official download sources where users can select their operating system and follow a guided setup that handles necessary permissions and space requirements automatically. Once installed, WebODM launches directly from the start menu or dock, providing an intuitive dashboard where users can create projects, upload image data with GPS information, and visualize flight paths on a map immediately, making the software accessible even to those who may have previously struggled with technical installation hurdles.
After configuring project settings such as multi-spectral analysis or volume optimization, users can initiate processing which eventually yields high-quality outputs like orthophotos, digital surface models, and point clouds. The video demonstrates how these results can be exported in formats like GeoTIFF for seamless integration into professional software like QGIS, where the 5 cm spatial resolution of the generated orthophoto is clearly visible upon zooming in. Users can further evaluate the data by rendering hillshades to check terrain accuracy or navigating detailed 3D scenes that allow for tilting landscapes and inspecting point clouds from multiple angles, showcasing the software's capability to handle complex aerial photography and even mobile phone photos effectively.
In conclusion, this transition positions WebODM as a robust and versatile tool for creating textured 3D models, orthomosaics, and precise surface maps without the previous technical friction. While minor issues like occasional crashes related to specific hardware configurations may still occur, the overall stability and ease of use have been significantly improved through these native installers and independent development efforts. The project now stands as a fantastic open-source solution capable of processing diverse image sources, offering detailed visualization options that rival commercial software while remaining free and community-driven for aerial photographers and mapping enthusiasts worldwide.
Read the full video transcript
[music]
>> Hello, welcome to my YouTube channel.
I've got some big news from the drone
mapping world. WebODM, the open-source
powerhouse for processing drone images
that many of us rely on, has officially
decoupled from OpenDroneMap.
This is a major shift, and honestly, it
brings a lot of advantages for users.
WebODM's lead developer announced that
after years of limited support from the
OpenDroneMap organization, the project
is moving forward independently.
This means WebODM now stands on its own,
with its own infrastructure, its own
repositories, and its own development
roadmap.
Let's talk about what this means for you
and me, the people actually processing
drone imagery.
WebODM is promising more frequent
releases, quicker bug fixes, and more
responsive development cycles.
No more waiting months for updates.
For years, WebODM and OpenDroneMap were
intertwined in ways that confused new
users.
Now WebODM is its own clearly defined
project, with its own download sources,
and its own branding.
The roadmap includes better
documentation, community directories,
and more ways for contributors to get
involved.
From translations to code to regional
user groups.
And here's the part I'm personally most
excited about, because if you see my
older videos, you know exactly what I'm
talking about. WebODM now offers native,
user-friendly installers for Windows,
macOS, and Linux. These installers are
built and signed by the WebODM
developers themselves.
No more Docker gymnastics, no more
command line acrobatics, no more why
doesn't this container start headaches.
Let's see how this works.
On the WebODM website, click download.
There you can choose your operating
system to see the available installation
options. Here I use the Windows WebODM
installer version 3.2.1.
I get a warning from my Windows
operating system that it's not yet a
trusted software,
but I will run it anyways.
Accept the license agreement.
Click next.
Here it recommends to choose your
largest hard disk because it needs quite
some space also for processing the
images.
Click next.
I keep the default here
for the start menu.
And then click install.
In the end, you'll see this screen and
you can launch WebODM when you click
finish.
Then it launches WebODM, and first you
get a warning about Node.js,
which you need to give permission.
And when it's successfully started,
you'll see this screen. Let's test our
installation with drone data.
There's a nice repository with example
drone data that we can use.
I'll provide the link in the description
of this video.
Here I'm going to use this zoo data.
Simply download the zip file from GitHub
and extract it on your own hard disk.
In our WebODM dashboard, let's edit the
name of the project,
and I'll call it zoo.
I can give an optional description.
Let's call it example.
Save the changes.
Then I select the images.
I'd extracted the downloaded file, and
there I find the images in a folder. I
select all these images. They come with
exit data with the GPS information,
and this will be immediately plotted on
a map in the dashboard, so you can see
where the drone images were taken.
You can change the settings here for
specific purposes of your drone
processing to optimize it for
multi-spectral analysis, volume
analysis, or other things.
And you can even further fine-tune this
with edit. I refer to the manual of
ODM and WebODM
to see what settings work for you. Here
I use the default settings.
Then I click review.
I'll check my settings here, and they
look okay, so I can click start
processing.
Processing starts with uploading the
files to the processing node.
>> [music]
>> And it starts processing, which will
take some time.
When the processing is completed, you
will see this,
and you can there download different
outputs,
such as orthophotos, surface models, or
3D objects. Or you can click on the map
to see the map in 2D,
and you see a nice orthophoto that we've
processed here on top of satellite image
from Google.
And you can see the details when we zoom
in.
And I can click on the 3D view.
Here in the point tree viewer, we can
see all our points,
and we can easily navigate
the 3D scene.
Under cameras, you can click on show
cameras, and there you can see the
position of the drone.
There are a lot more settings in here
also to measure. They're covered in
other videos,
and you can also generate a textured
model.
Unfortunately, here it crashes on my
computer,
and I need to restart WebODM.
Probably related to my own hardware.
After restarting WebODM, I go back to
the task, and there I'm going to
download some of the products and see
how they look in QGIS.
I'm going to download the orthophoto,
and here you have some choices, and I'll
download it as a GeoTIFF RGB, which is
good enough for visualization in QGIS.
Save it to your folder.
And in the same way, I'm going to
download the surface model.
It's a digital surface model as a
GeoTIFF. Here I use the raw format. Save
it to the same folder.
And finally, I'm going to download point
cloud, which I can also open in QGIS and
use for further processing.
Here in QGIS, I can find the downloaded
data. Let's first have a look at our
orthophoto.
Here it's loaded, and you can see the
amount of detail, which improves when I
zoom in further.
The orthophoto is very detailed, and if
I go to the layer properties,
I can see what the spatial resolution
is,
and there you can see that it's 5 cm.
Now let's load our digital surface
model.
Here it is. I zoom to the layer,
and I'm going to render this as a hill
shade because that's a very quick way to
evaluate the result.
Make sure you put the resampling of
zoomed in and zoomed out to bilinear to
don't get too many blocks.
There's still some blocky pattern here,
so I switch on the early resampling,
and here you see the result with a lot
of details, and at the borders, of
course, you see the triangulation
artifacts,
but that looks really nice.
And then finally, we have the point
cloud data in the last format.
When you load it, QGIS is automatically
converting it to a COPC format that you
can then use for further processing in
the processing toolbox.
I have other videos and of course at
Udemy for point cloud processing and 3D
visualization in QGIS. Here the point
cloud has loaded, and you can also
render it as a surface.
And you can visualize it in the 3D view.
I create a new 3D view, and when you
drag your
scroll button of your mouse towards
yourself, you can tilt the landscape.
Switch off the background, go back to
the 3D view, and here I can see all the
points of the point cloud.
In the 3D view settings, you can also
render it as a surface, and here you see
the interpolated surfaces.
That looks great and very detailed, and
I hope that this video was useful for
you, and that you can see that WebODM is
a fantastic open-source product for
processing your drone images, aerial
photographs, and even photos that you
took with your mobile phone.
>> [music]