Video summary
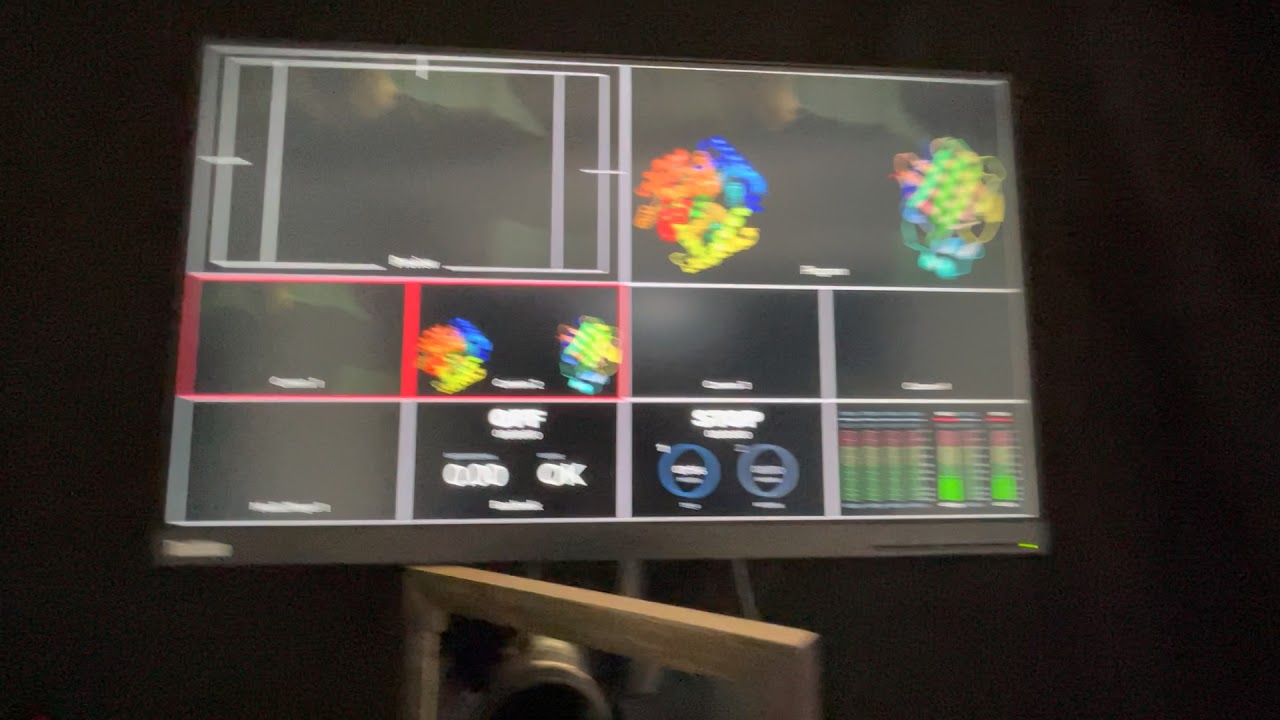
The video provides a comprehensive overview of the specialized equipment setup used for high-quality educational recordings, emphasizing that while many components are essential, others serve specific purposes to ensure clarity and depth. The foundation of this system relies heavily on lighting control rather than just brightness; black drapes or muslin backdrops are mounted several feet behind the presenter to create necessary depth of field and prevent unwanted reflections from reaching the camera lens. Two primary LED lights power the scene: a key light operating at full 200-watt output with an egg crate grid to direct illumination straight onto the subject, and a fill light set to half intensity to soften shadows on the unlit side of the face. Additionally, a weaker backlight is positioned above to separate the presenter's hair and shoulders from the background, ensuring they stand out sharply against the scene.
To capture both the instructor writing on an illuminated board and their own image simultaneously without distracting reflections appearing in the final footage, the setup employs a front-surface mirror mounted on a dedicated tripod with blacked-out surfaces to absorb stray light. A crucial technical element is the use of a circular polarizing filter on the camera lens, which cancels out the glare from LCD monitors while allowing the presenter to see their presentation clearly; however, this technique reduces incoming light by half, necessitating high ISO settings and wide aperture lenses like f/5.9 to maintain exposure without sacrificing depth of field. The recording process involves capturing two separate streams: one from a Blackmagic Pocket Cinema Camera 6K connected directly via SSD for raw footage with timecodes, and another from an Atomos Mini Pro Iso recorder that captures the laptop's presentation output along with audio from wireless lapel microphones hidden under clothing to avoid visual clutter.
The innovative light board itself consists of thick low-iron glass illuminated by blue LEDs on the side, which triggers total internal reflection within the pane while remaining invisible to the camera until a fluorescent marker is used to write upon it. Normal markers fail in this environment because they do not fluoresce under the specific blue lighting required; instead, special fluorescent pens are necessary so that their light can be reflected into the lens for visibility. While erasing these markings presents challenges as wet cleaning agents leave temporary smudges that appear dirty on local monitors but remain barely noticeable in the final video due to the high quality of the recording and lighting, the system allows for dynamic overlays where black elements in a presentation are digitally removed or superimposed over the live feed. Despite occasional software bugs with the recorder or battery issues requiring re-recording, this meticulously engineered combination of optics, mirrors, polarizers, and specialized glass enables clear, professional-grade video production suitable for complex instructional content.
Read the full video transcript
figured i should show you the video
setup we've been using for the class
this consists of a
number of pieces of equipment first we
have a so-called
light board here in the middle i'll get
that in a second
this is important for the pen but it's
not necessarily the
critical piece of equipment when it
comes to high quality recording
so in no particular order first you're
going to need lots of black drape or
muslin to avoid reflections first a
black
backdrop like a meter and a half or so
from the screen uh so that i can get a
little bit of depth of field
then we have two lights ouch that's
bright
so these are 200 watt uh modern led
lights
and that's probably the minimum you
should go for you need more light than
you think
so this one is the so-called key light
that's operating at 100
here we're really outputting 200 watts
and then we're using a
softbox on it to well mostly to make the
shadows
a little bit softer and the black
egg crate like net you see here that's
really directing the light so that i get
the light straight
on me when i'm recording as you can see
it exactly in this direction right
but if i go a little bit off axis here
in particular i don't hardly get any
light at all
and that's important to avoid
reflections that would show up in the
camera
on the second side we have a so-called
fill light this is a similar light
but i'm outputting that and what is it
48 so it's about half of the key light
and the idea here is really to soften up
the shadows on the side of me that's not
exposed
to the key light very traditional light
setup
and here too i'm using a softbox and
erection
egg crates in the back here
we have a weaker light that's roughly
i think it's a 60 watt life but i'm only
running it at like 50
or so so this is the light that's the
back light or the backdrop light
the idea here is that this one on top
will
light up my shoulders and my hair a bit
and that really makes the lecture that
you're recording stand out from the
background it makes the snap and look
really sharp
so you definitely want some sort of
backlight um and here too instead of a
large softbox if i were to redo this
today i would probably get a smaller
smaller light that's just a big led
panel but it's important that it's soft
any light without the softbox or say by
being at least one feet one foot in
diameter
is going to create very harsh shadows
the muslin here
is mounted on a tripod set
that i got from whatever procurement
agency
that is just a big beam up there
carrying the cloth
and then i mounted the light there
directly on top of that
not necessarily beautiful but it doesn't
show up in the recording so i don't
really care
i'll get to the light board in a sec
the other important piece here is the
recording equipment
so here i have a black magics and pocket
cinema camera 6k
the 6k part is not important there is a
4k version too
but these cameras use lenses that are
either standard canon
ef lenses for the 6k or
i think it's micro four thirds for the
4k and we just happened to have a couple
of canon lenses so it was easier to get
that one
the complication here is setting things
up
to record the light board there and me
in the front
and as you can see even here right there
are a ton of reflections
um you do not see those in the
recordings why don't we see those in the
recordings
i'll get that to that soon
the other complication here is that when
i write on that light board
i'm going to write so that i well i'm
right-handed
i didn't switch to be left-handed in all
the recordings but that means that i'm
writing for the opposite side
so if i'm writing on the opposite side
of the screen it's going to be backways
one scene from this side right the way i
handle this
is that i'm filming through a mirror
here this can't be any mirror
if you do any use any cheap mirror here
you're gonna get
ghosting because that you get a weak
reflection from the front surface and
then an actual reflection from the
backside
so this is a front surface mirror that
we got from thor labs
it's not expensive it's a bit over 100
or so but then
you can't get them larger than eight by
eight inches that was
i think i couldn't have made with the
mirror that i couldn't have made it with
a
mirror that's one inch smaller and then
we just built our own mounting device
for it so that i can put the mirror on a
separate tripod
do you see the black lens there the
reason why this is black is to get rid
of the reflections
so here we're using a circular
polarizing filter
for two reasons the main reason is this
one i will show you
that monitor screen in a second but this
monitor is absolutely
crucial without that monitor i won't
really see what i'm doing and in
particular when i'm using overlays or
anything
there is no way for me to know what i'm
pointing at but as you can see here that
monitor
is possibly the part that shows up
clearest in the reflection right
the neat thing with lcd screens is that
there is already a polarizer in front of
this so that means that it's going to
emit polarized light
that polarized light is then reflected
and if i now use a circular polarizer
here this means that i can cancel
just the light from the led screen so
that i see the monitor but the monitor
does not show up in the recording
the price for that is that we just lost
half the light
so that uh when when you record here
you're gonna that's what we need all the
light here we need tons of lights
so that in the end i think i'm using
roughly at what is it iso 640 or
something
and then a f-stop of 5.9 i think it is
you can see that yes f-stop 5.9 and iso
640.
that's actually underexposing it a bit
uh i'll get to that in a second
why uh but
uh that's even with all this light i
couldn't make do it less and i also i
don't want to open the f-stop anymore
because i have to open the f-stop more i
won't have a very
large depth of field and if i don't have
any large depth of field i will either
have me
sharp or the markings i'm writing on the
light board sharp so that i need a
reasonable depth of field here maybe 5.9
is a bit large but i couldn't make it
i couldn't operate the lenses 1.4 or so
there are a couple of additional things
worth it i i have a
an external ssd connected directly to
the camera here i'll tell you why
in a second the other part that you
notice that there's a black backdrop
here too
the reason for that is that i have
windows on the other side and if i
don't to cancel out that light that
light is going to reflect
the receiving reflections in this
direction and what i notice is that
there is a lamp outside there
that lamp is going to shine into the
mirror the mirror will then reflect the
light
on the screen and that light ends up
showing the reflection of the lamp
outside in the corridor
you have no idea how many reflections
there are do you see that i had to cover
the
this is a blank part on the tripod i had
to cover that in something back to
basically anything that is not black is
going to create a reflection so you'd
need to look
really really carefully in your monitor
and make sure you don't have any
reflections or you're going to live to
regret this
i think that's mostly it the tripods and
everything they're cheap so it doesn't
really matter
let's move over to the recording
equipment here and show what we're doing
so the key piece here is
a small recording device also from
blackmagic just like the camera
there's an atom mining and i use the pro
iso version i'll tell you why
uh shortly there are a bunch of hdmi
connections coming in here first there
is a connection coming in
from the camera and then there's also a
connection coming in from my laptop so
i'm presenting
on my laptop as if it was an external
screen that means that i see the
presenter notes and everything on my
laptop
this small device has a couple of nice
functionalities
one of them is that if i configure this
in the computer
it can create an overlay basically the
equivalent of a green screen so that
anything in my presentation that's black
ends up being removed and then that is
superimposed
on top of the output so if you now see
the output out
the screen here looks bad
if you look at the output in the
monitor there do you see that my hands
actually go under the protein here
because again anything that's black ends
up being replaced
and i've no idea why the screen here is
so dirty i'm gonna need to clean it
the monitor i see because that's
connected to the output from this eta
mining
isopro with hdmi the problem with this
oh sorry there are two more things i
also connect a small ssd device here
so that this atom mining that records
the iso version here that will record
all these streams separately so i'm
going to record
the stream from my computer i will
record the stream from the camera with
proper time codes
it will also record audio so i have a
separate
audio link here to a wireless lapel
microphone from reddit
and this one i'm wearing this um this is
a special adapter to it
that means that i tape it with surgical
tape to my chest or my t-shirt rather
and that means that the lapel mic
doesn't show up at all it's completely
hidden under
my shirt
that is also recorded separately i can
have up to four streams and two
microphones in practice i only use two
and one microphone
what this device also does
is that it automatically creates an
editable object that i can open directly
in davinci
resolve which is really nice but the
one problem here is that it's only 1080p
2k so how do i get 4k videos well the
cool thing here is that the camera
itself can output raw data
in 6k and that will end up on the ssd
connected directly to the camera then i
can take
those files and just drag them on top of
the video project that i have in davinci
and because they are time coded just as
the output from the a2 mini iso here
i can just tell davinci resolve to use
video originals
or camera originals and that will mean
that it will now replace the video part
with the 6k resolution so
technically the laptop output is still
only
1080p i guess i could record that
locally in higher resolution if i really
wanted to but there is no point
so what happens here just to
show you an example then i use a marker
the white
the light board here is a bit of a
special device too
that i ordered from learning glass
europe
the white light here is actually
completely pointless that they're
built-in version of presenter lights it
doesn't help at all compared to the much
stronger lights
but again it doesn't hurt either do you
see the blue lights here
so this is a piece of roughly 10
millimeter thick uh
super clear glass low iron glass that's
important because otherwise it would be
a bit green
the blue leds here they shine
into the light from the side and that
means that i'm going to get total
internal reflection throughout this
piece of glass i won't really see the
blue light here
unless the dirt parts i have but if i
now
write with a marker here this is a
fluorescent marker it's super important
that they're fluorescent the normal
marker won't work let me show you one
just
here's a normal marker with a normal
marker it will just look like that
not visible at all the fluorescent
marker when they're hit by this blue
light
they're gonna obviously gonna create
fluorescent light that fluorescent light
is then reflected so that i see it into
the camera
and that's the whole that's the whole
way this works there are a couple of
different markers i'm not really super
happy with any of them
basically you have to choose whether you
get something that's really visible or
something that's easy to erase you can't
both have the cake and eat
and in practice i'm still struggling
with the best way to erase this
wet erasing with some sort of window
cleaner is better but
that quickly gets very ugly and dirty
while you're doing the recordings and
that's why i'm occasionally a bit lazy
thank god as long as you have plenty of
light
the the part that looks like horrible
dirt on the screen here it doesn't show
up
so much in the total video it's barely
noticeable so don't worry too much about
it
and that's basically it
there are unfortunately all this
equipment and particularly
the mining iso it appears to be a bit
buggy or it could be the ssd drives or
something and then you keep running out
of battery and the wireless microphones
and everything so
unless you're really careful you do you
will end up re-recording some stuff now
and then but
hey you learn as long as you live