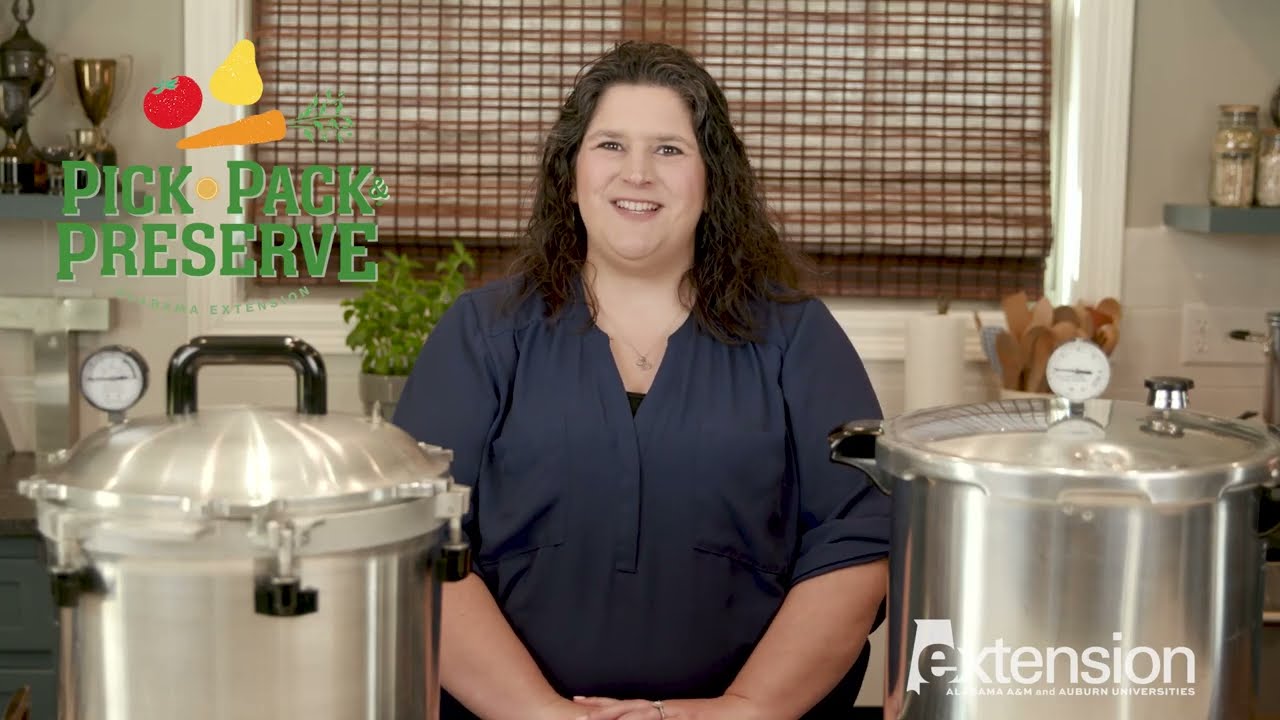
Video summary
This video guide from the Food Safety and Quality team focuses on the critical importance of using a pressure canner specifically for vegetables, which are classified as low-acid foods. Unlike high-acid items that might be processed in boiling water baths, vegetables require the higher temperatures achieved only through pressurization to ensure they remain safe for long-term storage without spoiling or causing foodborne illness. The presenter emphasizes safety by directing viewers to approved methods from sources like the National Center for Home Food Preservation before beginning any processing, ensuring that the techniques used match the specific type of vegetable being canned in this case demonstrating the preparation and canning of carrots.
The tutorial details a comprehensive setup process involving essential equipment such as pressure canners, jars with new lids, jar lifters, funnels, timers, and cleaning supplies like single-use damp paper towels for wiping rims. Viewers are instructed to prepare their vegetables by washing them thoroughly in running water to remove soil, peeling the outer layer, and slicing them into uniform bite-sized pieces to guarantee even heat distribution during processing. The video explains two packing methods: raw pack, where cold carrots are placed directly into warm jars with hot water added later, and hot pack, which involves boiling the vegetables before filling the jars; however, it notes that hot packing is generally recommended for better results. Optional canning salt may be added at this stage solely to enhance flavor, as it does not contribute to preservation safety.
Once the jars are filled, leaving a one-inch head space and removing air bubbles with a spatula or bubble wand, they must be carefully prepared before loading into the pressure canner. The rims of each jar should be wiped clean to ensure a proper seal, lids placed on top, and screw bands tightened only fingertip tight to allow for expansion during heating. After placing the hot jars onto the rack inside the caner without tilting them, the lid is locked but not weighted down immediately; instead, heat is increased to high to vent steam steadily for ten minutes to purge air from the system. Once the environment consists of pure steam, a weight or gauge is applied to build pressure to 10 pounds for weighted gauges or 11 pounds for dial gauges, at which point processing begins with specific timing durations based on jar size—25 minutes for pints and 30 minutes for quarts.
The final stages of the process involve maintaining steady pressure throughout the cooking time while carefully managing heat levels to prevent sudden drops that would require restarting the timer or spikes that could compromise safety. When the processing time is complete, the heat must be turned off immediately, allowing the canner to cool naturally until internal pressure returns to zero without forcing it open, which prevents liquid from siphoning out of the jars and breaking seals. After removing the weight and opening the lid away from the face for steam release, the hot jars are transferred using a lifter onto an insulated surface like a towel-covered counter where they sit undisturbed for 12 to 24 hours before checking if lids flex or pop up; unsealed jars should be refrigerated and consumed within two to three days after proper cooking. The video concludes by reminding viewers that following USDA-approved guidelines is essential for safety, encouraging them to label their successfully sealed jars with dates and store them in cool, dark places while directing further inquiries to the organization's website.
Read the full video transcript
Welcome to the food safety and quality
team's pick, pack, preserve food
preservation video series. In this
video, we'll learn how to use a pressure
caner. Let's get started. Today, we're
going to learn how to safely pressure
can vegetables. [music] Because
vegetables are a low acid food, pressure
canning is the only safe method for
canning vegetables. So, we'll walk
through every step carefully. I will be
demonstrating how to prepare carrots in
the pressure caner. Be sure to use an
approved method for the type of
vegetable you will be processing.
Approved methods can be found at the
National Center for Home Food
Preservation or through extension
publications. Here's the equipment you
may need. Pressure caner, canning jars,
[music] lids and ring bands, jar lifter
and funnel, canning salt, which is
optional, a bubble wand or rubber
spatula, singleuse damp paper towels for
wiping the rims, a knife, a peeler, a
timer, a clean, dry dish [music] towel
for putting jars on, and a cutting
board. So, let's set up the pressure
caner. Add 2 to 3 in of hot water to the
bottom of the pressure caner or follow
your manufacturer's instructions. Set
the heat source to low. I have selected
smaller carrots that are 1 in to 1 and
1/4 in in diameter. Choose quality
product as canning does not improve
[music] quality. We'll start by washing
them with clean running water to remove
any remaining soil and debris. Then use
a peeler to remove the outside layer.
Once peeled, I'm going to slice the
carrots into similar bite-sized pieces
to ensure even processing. When planning
to raw pack the carrots, if you like,
add half a teaspoon of canning salt per
pint or one teaspoon per quart for
[music] flavor, as salt is not necessary
for preservation in canning. Then, use
your funnel, fill the warm jars with
carrot pieces, [music] and add hot water
to 1 in head space. To hot pack, add
carrot pieces to a pot and cover with
water. Bring to a boil and simmer for 5
minutes. Fill warm jars with carrots and
hot water, leaving 1 in head space. Hot
pack is recommended to ensure proper
heat distribution in the jar. Again, if
you like, add half a teaspoon of canning
salt per pint or one teaspoon per quart
for flavor. To prepare the jars for the
caner, remove air bubbles by gently
sliding a spatula or bubble remover
along the inside of each jar. Adjust the
head space if needed. Wipe rims with a
damp singleuse paper towel. Place your
lids on the jars and tighten screw bands
[music] fingertip tight. Use your jar
lifter to place the hot jars on the rack
in the caner. Do not tilt the jars. Lock
the lid in [music] place following your
pressure caner's manufacturing
instructions, but do not put the weight
on yet. Increase your heat to high. Let
the caner vent steam [music] steadily
for 10 minutes. This step pushes out
air, creating a pure steam environment
for proper temperature. After venting,
place the weight on [music] the vent
pipe. Bring the pressure up to 11 lb for
a dial gauge canner or 10 lb for a
weighted gauge caner. Once it reaches
pressure, start your timer. 25 minutes
for pints, 30 minutes for quartz.
Keep pressure steady throughout
processing. If pressure begins
increasing, slowly reduce heat a little
at a time. Reducing quickly may cause
loss of pressure. If pressure begins
dropping below the required amount,
processing time must be stopped and you
need to increase the heating element. Do
not resume processing time [music] until
correct pressure has been reached again.
Do not walk away for other tasks. When
processing time is up, turn off the
[music] heat and let pressure return to
zero naturally. Don't force the cool.
That can cause liquid to siphon out of
the jars. Once pressure is at zero,
[music] take off the weight for more
release. Then carefully remove the lid,
opening it away from your face.
Use a [music] jar lifter to remove the
jars, being careful not to tilt the
jars. Place them on an insulated
surface, such as a towel [music] covered
counter. To prevent breakage, don't
place jars on a cold surface or an
extremely hot surface. Leave space
between the jars to help them cool. Do
not touch or wipe water from the jar
tops while cooling. This could cause a
false seal. Let jars sit undisturbed for
12 to 24 hours. Then check the seals.
Lids should be firm and not flex when
pressed. Remove the bands, wipe the jars
clean, label with date, and store in a
cool, dark place. If a jar doesn't seal,
place it in the refrigerator and consume
within 2 to 3 days. Properly cook before
consuming. Remember, always follow USDA
approved pressure canning guidelines for
safety. And happy canning. For more
information, check out our website at
www.ases.edu.