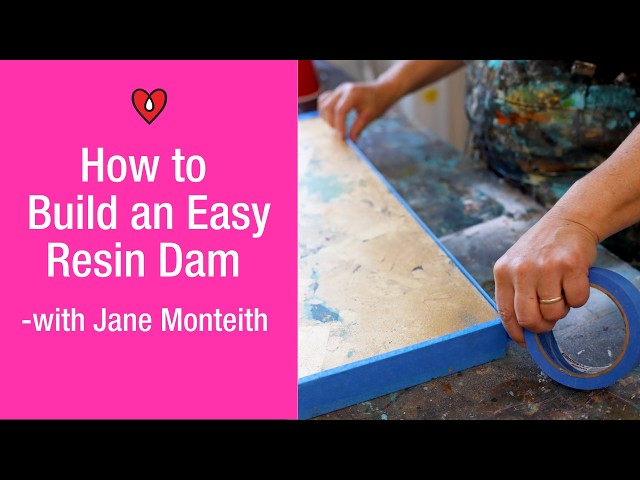
Video summary
Jane Monteith, an experienced mixed media artist with over a decade of experience using ArtResin, shares practical techniques for preparing panels specifically designed for thicker resin pours. She introduces the concept of creating a "dam" around the edges of the artwork, which involves raising the sides to contain the liquid resin and prevent it from spilling onto the surrounding surface. This method is particularly useful for artists working on layered projects, such as her current series featuring gold leaf, ensuring that the final piece remains clean and professional without the mess often associated with pouring thick layers of epoxy.
The core of this technique relies on using 3M 90 tape or similar double-sided tape to build up the walls of the dam. The process begins by applying the tape to one edge or corner of the panel, carefully pinching the sides together to ensure a tight seal. It is important to run a finger or a burnisher along the tape line to maximize adhesion and prevent it from peeling away during the pour. As the artist wraps the tape around the entire panel, maintaining a consistent distance and depth is crucial; holding the panel up to the light can help verify that the dam is uniform all the way around, covering every edge evenly.
To further secure the structure and add necessary strength for a successful pour, Jane recommends applying a second layer of tape around the perimeter after the first one has been fully adhered. This double-layer approach significantly reduces the likelihood of the tape failing or falling into the artwork once the resin is poured. By pulling the tape tightly during application, the bond to the panel edges becomes much stronger, creating a reliable barrier that keeps the resin contained within the intended area. Ultimately, this simple yet effective preparation method allows artists to confidently execute thicker pours while maintaining a clean workspace and protecting their finished art pieces.
Read the full video transcript
Hey there, I'm Jane Monteith, mixed
media artist, and I'm excited to share
with you some awesome tips and tricks
for using resin. I've been using this
brand for over 10 years, and I've
learned a few things along the way. So,
I'm looking forward to sharing those
with you shortly.
>> [music]
>> I wanted to share with you yet another
way that you can prep your panel for
resin, especially if you want to do a
thicker pour, you're able to do that
with ArtResin. And what I like to do is
create
>> [music]
>> a dam, is what I like to call it. But
basically, we're raising the sides of
the panel so that it allows for you to
pour the resin in, and it stay contained
on your artwork. So, this piece here is
another piece very similar to that. I'm
creating a series of these gold leaf
layered pieces. And in fact, [music]
this piece is from my layer-by-layer
course, and we covered uh a few
different styles of collage and
layering. So, this is just one of them.
But, the tip that I wanted to share with
you today is again with the 3M 90 tape
or the 2090 tape. [music] And
you essentially just want to
start off on one edge or corner of your
panel.
And you just kind of want to pinch the
sides here as best as you can.
And keeping in mind, and I know it's
going to be hard to see on this first
take as I [music]
uh start this side, but I will turn the
panel around in a minute.
And it's okay if you break off the tape
as you're doing this.
But, you want to run your finger or even
use a burnisher of some sort so you get
a really good adhesion to the side of
the already tape line. But, on this side
right here, you want to have the same
distance or at least a place where you
can make sure that your measurement or
depth is equal all the way across your
panel. You can also hold it up to the
light as well when you're running the
surround your panel. But, you want to
continue all the way around the same
distance with the tape line so that it
covers all edges. So, let me just
quickly do that here on each edge.
And if you can, pull really tightly on
the tape because that's really going to
help you as well get a really good
bond on the edges of your panel.
Again, running your fingers all the way
across.
And continue this all the way around.
And then when you get to the other end,
you obviously want to make sure that the
tape line is exactly
the same level or same width all the way
around. Again, pinch the corners
and burnish the sides. And then for
added
strength of your dam or for the pour,
then you want to go around a second time
with the tape. That gives [music] it
that additional
uh protection as far as strength is
concerned and your tape is less likely
to kind of fall into your panel or your
artwork.
All right, so that's it for a raised
pore. I hope you found that helpful and
just another tip that I wanted to share
with you today.
>> [music]