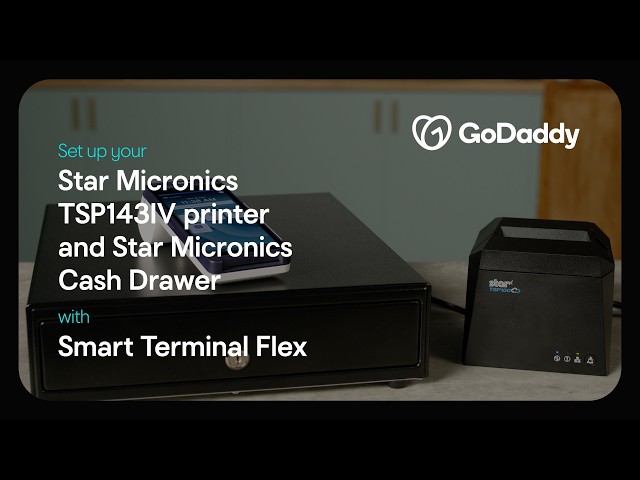
GoDaddy | Setting up your Star Micronics TSP143IV printer and Cash Drawer with Smart Terminal Flex
Watch on YouTubeVideo summary
Bu videoda, GoDaddy Smart Terminal Flex cihazının Star Micronics TSP1434 modeliyle nasıl yapılandırılacağı adım adım anlatılmaktadır. İşlem ilk olarak Smart Terminal Flex ekranındaki aksesuar yöneticisine gidilerek yeni bir aksesuar eklenmesi ve ardından yazıcı seçeneğinin aktif hale getirilmesiyle başlar. Yazıcının güç kablosunun hem cihazın kendisine hem de bir güç kaynağına takılması, kâğıt rulosunun alttan doğru şekilde yerleştirilmesi ve cihazın açılmasıyla süreç devam eder. Kâğıdın düzgün yüklendiğinden emin olmak için besleme butonuna basılarak ilk test baskısı alınması önerilir.
Ardından, yazıcının ağa bağlanması ve Smart Terminal ile eşleştirilmesi işlemleri gerçekleştirilir. Yazıcının Ethernet kablosu kullanılarak aynı ağa bağlı olan yönlendiriciye veya erişim noktasına bağlanması sağlanmalıdır. Cihazın IP adresini öğrenmek için yazıcı kapatılırken besleme butonuna basılı tutulur ve cihaz aynı anda açılır; bu işlem iki adet test fişinin basılmasını sağlar ve ikinci fişin alt kısmında mevcut IP adresi görüntülenir. Bu IP adresi Smart Terminal'e girildikten sonra yazıcının başarıyla bağlandığı onaylanır ve cihaz üzerinden bir test fişi basılarak bağlantının doğrulanması sağlanır.
Son olarak, uyumlu bir Star Micronics nakit çekmecesi varsa bu bileşenin de yazıcıya bağlanması gösterilmektedir. Nakit çekmecesi ile gelen RJ kablosunun bir ucu çekmeceye, diğer ucu ise yazıcıya takılarak bağlantı kurulur ve çekmecenin çalışıp çalışmadığı test edilir. Yapılandırma tamamlandıktan sonra varsayılan olarak fişlerde sipariş numaraları ve kalemler gösterilir ancak bu ayarlar daha sonra fiş ayarları menüsünden değiştirilebilir. Bu adımları takip ederek GoDaddy Smart Terminal Flex ile Star Micronics yazıcınız ve opsiyonel nakit çekmeceniz sorunsuz bir şekilde kurulmuş olur.
Read the full video transcript
In this video, we'll show you how to set
up the GoDaddy Smart Terminal Flex with
your Star Micronics printer model
TSP1434.
You'll learn how to set up your printer,
connect the printer to the Smart
Terminal with your network ethernet
connection, and connect a cash drawer to
your printer.
Let's start with your Smart Terminal
Flex screen. Go to the accessory manager
and select add accessory.
From there, click printers.
Next, you should activate your Star
Micronics printer model TSP1434.
Plug one end of the power cord into the
printer and the other into a power
source.
Load the receipt printer paper from
underneath the roll.
Then power it on.
Press the feed button to make sure that
the paper is loaded correctly. Now you
can connect the GoDaddy Smart Terminal
Flex to the Star Micronics printer. Make
sure that your Star Micronics printer is
connected to your network router or
access point using the provided ethernet
cable. The printer should be connected
to the same network as your Smart
Terminal Flex. Now, you'll need to enter
the IP address into the Smart Terminal
Flex to connect it. Here's how to get
the IP address. With the printer powered
off, hold the feed button and power on
the printer at the same time.
Hold until you see two test receipts
print.
And the current IP address will be near
the bottom of the second receipt.
On the Smart Terminal Flex, once you've
added the model number and IP address,
you should see the printer is now
connected to the device. At this point,
you should be able to print a test
receipt from the Smart Terminal Flex. If
you have a compatible Star Micronics
cash drawer, follow these steps to
connect it to your Star Micronics
printer. Using the RJ cable that comes
with your cash drawer, plug the end
labeled cash drawer into the drawer and
the other end labeled printer into your
connected Star Micronics printer. Once
connected, you'll be able to test your
cash drawer. By default, receipt
settings are enabled with order numbers
and items, but you can change this under
receipt settings after setup. That's how
you set up your Star Micronics printer
with your GoDaddy Smart Terminal Duo.
Thanks for watching.