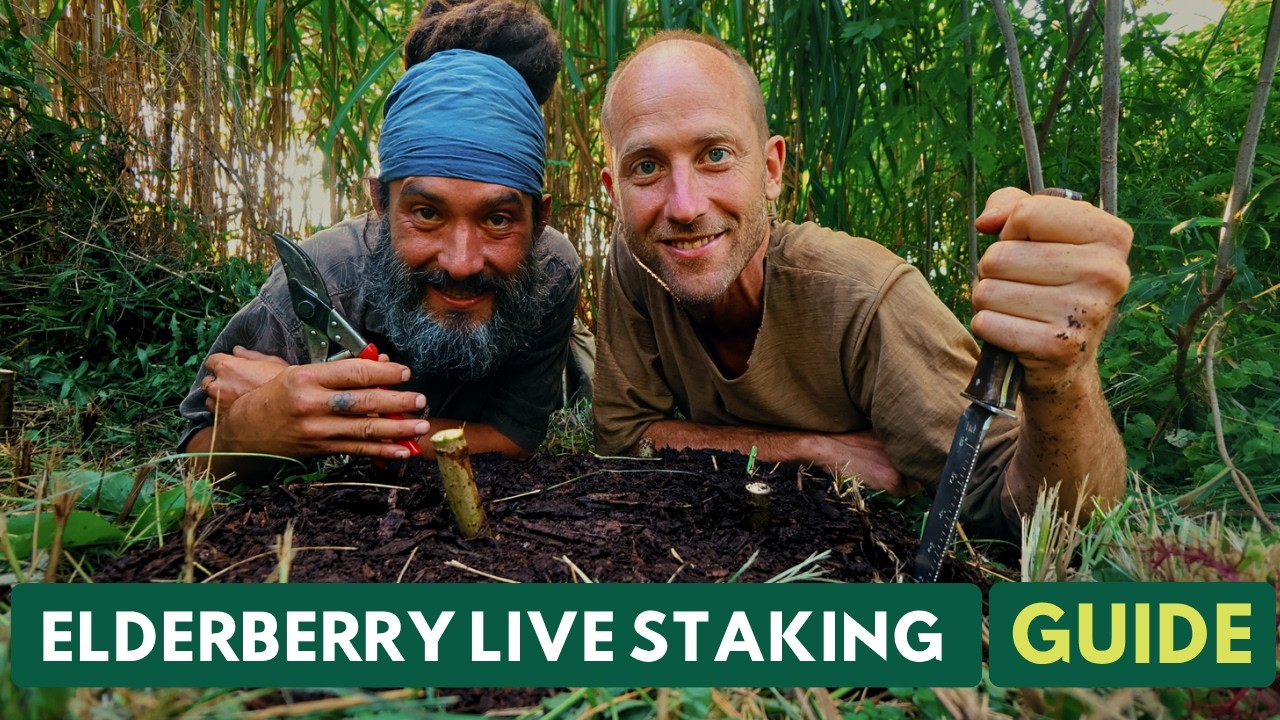
Elderberry Live Staking How-To Guide - 1 Million Community Fruit Trees Initiative
Watch on YouTubeVideo summary
The video introduces a grassroots initiative aimed at planting one million community fruit trees over the next decade, with elderberry shrubs serving as a central component of this ambitious goal. Elderberries are selected for their status as an incredible native plant that supports pollinators, produces abundant and medicinal fruit beneficial to humans and wildlife, and aids in riparian restoration. The guide emphasizes that these plants are among the easiest to propagate through live cutting, allowing a single small shrub to potentially multiply into dozens of new trees, thereby accelerating reforestation efforts through community collaboration.
To successfully propagate elderberries, the video outlines specific best practices for selecting parent plants and preparing cuttings. Harvesters should choose vigorous, disease-resistant plants with large clumps and plump berries, ensuring they do not take more than one-third of an established shrub's shoots to avoid harm. When taking cuttings, branches should ideally be between half an inch and an inch and a half in width, though smaller branches can still root successfully if necessary. A critical step in the process is defoliating the branch before cutting, as removing leaves prevents moisture loss through transpiration since the cuttings have no roots yet to absorb water. Additionally, each cutting should contain only one node, which is the site where buds form and from which new roots will emerge, maximizing the number of viable cuttings produced from a single branch.
The planting process involves creating a hole that is about two-thirds the length of the cutting, ensuring the node remains above ground while encouraging soil contact with the lower portion of the stem. The video recommends adding extra water to the soil before insertion and packing it snugly around the cutting to prevent drying out during droughts. To increase the likelihood of survival, three cuttings should be planted in a small triangle pattern approximately eight to nine inches apart. After planting, applying mulch directly around the base is encouraged for elderberries, unlike many other trees, as they can root into the wood chips which helps retain moisture and suppress weeds. This method ensures that even if one cutting fails, the others have a chance to thrive, creating a resilient foundation for future fruit production.
Ultimately, the video concludes by highlighting the long-term ecological and social benefits of this initiative, noting that once established, elderberry trees will provide food for humans and birds, support pollinators through their flowers, regenerate soil, and create shade. The spread of seeds by animals further ensures that new trees grow without additional human intervention, creating a self-sustaining cycle of growth. Viewers are directed to the communityfruittrees.org website for a comprehensive live staking guide to support them in planting dozens or hundreds of these trees, contributing to the broader vision of restoring landscapes with native, productive fruit-bearing plants.
Read the full video transcript
[music]
>> There's the node, just below the
cutting. This one little elderberry
shrub here [music]
could potentially turn into [singing] 28
elderberry shrubs.
Hello dear friends, we are with our
friend here, the elderberry. And this is
one of the key trees that will help us
to plant 1 million community fruit trees
over the next decade [music] through a
grassroots collaborative effort of
thousands of people, which hopefully
includes you.
>> One of the reasons we've chosen
elderberry is because it's an incredible
native plant that benefits pollinators,
produces abundant yields of incredible
fruit that's also very medicinal,
[music] and it's one of the easiest to
propagate.
>> And that fruit's wonderful for humans
and all the other animals, including
many birds. Helps with riparian
restoration. Pretty much the easiest
plant to propagate through live cutting,
is that right?
>> I would say so, yes.
>> All right, so let's dive in. Let's
[music] help you get started.
First things first, although you can
harvest from any elderberry plant, what
are we looking for with deciding [music]
which plants we're harvesting from?
>> Anytime we're choosing plants to
propagate, we want to select from parent
plants
>> [music]
>> that exhibit the best qualities for
vigor, productivity, disease resistance,
berry size and sweetness, and [music] a
plant that is going to yield generously
in [music] propagation material.
>> So, with elderberry, we're looking for
nice, plump, juicy berries, a vibrant
looking plant, large clumps with many
shoots.
>> Absolutely, you got it.
>> All right, so we have a plant here that
is about three or four years old?
>> Yes, this plant is in its third year
now.
>> Based on what we're seeing here, how
much of this could we harvest without
doing harm to this plant while
harvesting the resources that we need in
order to propagate it?
>> Best practices are to never take more
than 1/3 of an established shrub like
this.
>> [music]
>> So, at most we'll take 1 2 3
4 of these shoots.
>> And then
we're going to get about how many
cuttings from each of these shoots?
>> This cutting has got 1 2 3 4 5 6 7
cuttings.
>> Okay, so we're looking at potentially 25
or 30 cuttings, which means this one
little elderberry shrub here could
potentially turn into 28 elderberry
shrubs. So, we're talking about being
able to really multiply through the
power of the elderberry. Let's [music]
take a cutting.
So, what is the ideal size for the width
[music] of the the branch that we're
taking from?
>> With elderberries, we want to find
branches that are a minimum of a half
inch in width and a maximum of around an
inch to an inch and a half.
>> So, let's take a look at what we've got
here. This is the width of my thumb and
we've got a measuring tape so we can
really show you this.
So, we're looking at about 5/8. So, this
is a pretty ideal. This is kind of the
smallest one you'd want to ideally
propagate.
>> Exactly.
>> Now, if you only have smaller like this
size, can people use these or are these
too small if this is all they have in
their area?
>> Absolutely. Elderberries can even grow
from tiny branches like this. The
difference is when we're live staking,
we really want a lot of vigor and the
larger the branch that you cut, the
faster it's going to [music] root, and
the more energy it's going to have to
establish itself quickly [music] in a
wild environment. So, where you have the
opportunity to harvest the larger width,
we absolutely encourage you to do that.
But, if you only have small ones, then
that is what you're going to have for
your propagation material. [music]
So, let's measure my thumb. My thumb is
about 3/4 of an inch, and my pointer
finger is about a half inch. So, if you
have a thumb or a pointer finger like
me, you don't even need a ruler. Where
shall I cut this?
>> Cut it as close to the ground as you
can.
>> So, now we have our branch. How do we
turn this into cuttings?
>> Step one is to [music] defoliate. We
want to remove all of these leaves
so that the plant doesn't lose any
moisture while [music] it's
establishing.
>> So, this really goes against what most
people think. Most people who are new to
this think you got to keep the leaves.
But, [music] at this point, it has no
roots, so it needs no leaves.
>> The leaves [music] are how it sweats, so
it will lose moisture from even inside
of the stalk if we leave those leaves
[music] and sweat pores on there.
>> So, now we have the branch, and how do
we decide what is going to be the length
of the cuttings or how the cuttings are
going to come from this?
>> So, we recommend a cutting length of 8
to 20 in, but with elderberries, the
more important thing is [music] that we
have one node per cutting. That way, we
maximize our propagation material. In
this case, where you have
the first node just 4 in up and a tight
internodal distance, this is about 9 in.
So, we're going to go ahead and make
this one cutting.
>> It's a really useful thing to measure
the length of the width of your fingers.
You can see that mine is 9 in this
becomes a very helpful tool with
elderberry live staking [music] saves
you a lot of time and one question Eric
what is a node?
>> A node is where the bud scars from the
leaves form and this is where buds are
sitting dormant and new leaves will
emerge with elderberries
the nodes will produce roots but most of
the roots will come from the little
lenticels which is why we only need one
node per cutting with elderberry.
>> Okay so let's go ahead and make our
first cutting tell me where to go ahead
and do that.
>> Cut it right here.
>> So I'm going to go flat for the top and
is [music] it just above the node?
>> Just above the node exactly.
>> Okay.
>> Excellent we want to give this a nice
sharp angle so that it goes into the
ground easily.
>> So the bottom is going to be about a 45
degree angle.
And that also makes it so you know the
top [music] is flat and the bottom is an
angle making it so that if you drop
these you won't end up planting it
upside down.
>> So for our next cutting we'll go ahead
and cut our angle here at the bottom.
And then
a nice 90 degree cut at the top.
>> Point on the bottom
flat on top
node just below
the cutting. We have three cuttings now
and we're going to continue on. Now I'm
noticing that as we get further up
there's a larger distance between the
cutting
>> [music]
>> or between the nodes so show us how we
do it here Eric.
>> Same as before we only need one node per
cutting.
So I like to cut
just above the node
set it aside. For the sake of expediency
when you're doing numerous cuttings, it
can help to break them down to size
first, and then cut the angles all at
the same time.
So, those little pieces we're not using.
You could put these in a pot or take
them home and somewhere that they'll get
more care. Those have a good chance of
[music] survival as well. Okay.
And then we have this one here. Is this
usable?
This is another one that you can see
this is got new growth from this year,
and we really want the ones that are
woody and lignified for live stakes.
Those again could be used for growing in
a pot at home or in a home garden that
gets regular irrigation. So, we got 1 2
3 4 5 6 [music] 7 cuttings from that
branch, just like we were expecting. Uh
take a look at these, Eric. How do you
feel? Is this a pretty ideal batch of
cuttings?
>> [music]
>> These all look fantastic.
All right. So, now we have the cuttings,
and we could plant [music] these
directly into the ground, but if we're
not going to plant them right away, now
what? We can store them in a bucket of
water for up to a week. So, in this
bucket, how deep do we want them
submerged?
We want our elderberry cuttings to be
anywhere from 1/3 to halfway. We're
going to go directly to planting these
live stakes. However, we would love for
you to reference the elderberry live
staking guide to learn all about the
most ideal locations to plant these.
So, Eric, how do we go ahead
live staking this elderberry? Well, the
first thing you're going to need is the
right tools, and for me,
the cream of the crop is this Japanese
digging trowel known as a hori hori. I
love these because they're pocket
[music] size, they're effective, allow
you to plant in a variety of different
soil types. Shovels and
pickaxes are also readily available
tools that you might already have on
hand.
If you don't have a hori hori though, I
highly recommend making the investment.
[music]
>> Very nice. Okay, let's go ahead and
plant one.
>> All right. So, first we make a small
hole.
>> And of course, depth. Depth is the
important part. So, [music]
we have this cutting here that's about
10 in,
and how deep of a hole have we made?
>> We want to go about 2/3 [music] deep.
So,
that's just about perfect.
>> But how about the placement of the
[music] node above or below the ground?
>> The node always goes above the ground.
>> And if there are multiple nodes on the
cutting? [music]
>> It's ideal to have one above ground and
one below ground.
>> Okay, so we've got our simple hole.
How do we fill this in?
>> The first step is to add a little bit of
extra water so that the soil is nice and
juicy.
>> Great.
Give the plant an extra
nudge off to an easy start. [music]
Wow, I'm actually seeing how easily that
hole is filling back in.
And now, do we want to really snugly
pack it in or keep it loose?
>> I like snug, so I usually give a little
press of my foot at the very end. When
there's good soil contact, that ensures
that the cutting [music] is not going to
dry out underground even if there's a
long period of drought.
>> Now, are we going straight into the
ground, at an angle? What's our
preference here?
>> I like to have a slight angle so that
there's more soil contact underground.
>> The strategy we're going to share with
you is rather than just planting one
cutting in each area because one cutting
might produce, but it could also die.
So, to increase our chances of success,
we're going to plant three in a small
triangle, approximately [music] 8 to 9
in apart. So, that's
the width of between my pinky and
[music] thumb.
>> Great.
How is that all?
>> Great. And then
>> [music]
>> uh dump the water in.
Very good.
>> Before we take the last step, I just
want to share how incredibly
enthusiastic I'm feeling.
What we have here is the potential over
the years ahead for
dozens of pounds of fruit that's going
to be for humans, for the birds. The
flowers on this are going to be
incredibly beneficial for many
pollinators. This is helping to
regenerate our soil. This is helping to
create shade. It's helping to restore
riparian areas. And once we've planted
and there's fruit, that's not the end of
the story. As the birds and the animals
eat these elderberries and spread them,
the trees will spread as well. So, just
getting started can actually [music]
start to produce many more trees without
any work.
The final touch. What are we doing here?
>> We're going to give these some nice
mulch [music] to help to suppress weeds
and retain the moisture from the
watering that we just gave these
cuttings. [music]
>> I'm excited.
Whole bucket?
>> No,
um
we can go like
that. We'll do some more around the
outside.
>> Elderberries are very unique because
with a lot of with most trees, you don't
want the mulch touching [music] the base
of the tree.
But with elderberry, they can have that
right up around them, right?
>> Yeah, cuz they'll just root into this
nice composted wood chip that we've got
for them.
>> So, here you have it. This is what we're
ideally looking for for the likeliness
of success. We've got our three planted
[music] snugly in there and then mulched
as well. What do you think, [music]
Eric?
>> I think all three of these are going to
make it.
>> Very nice. How are you feeling right now
having planted these?
>> Fantastic. I love elderberries.
>> Well, 1 million community fruit and nut
trees over the next decade and right
now, I'm thinking maybe a quarter
million of those are going to be
elderberries and I'm hoping that that's
going to be dozens or hundreds that are
planted by you in this together. That
gives you the information that you need
in order to harvest, get your
propagation materials, and then actually
live stake. However, there's so much
more helpful information to be deeply
successful to be able to plant dozens,
hundreds, thousands of these. And for
you, we have created our elderberry live
staking guide. Go to
communityfruittrees.org
and you'll have the guide there and
everything that you [music] need for
support on this journey.
>> All right, let's get out there and
propagate some elderberries.