Video summary
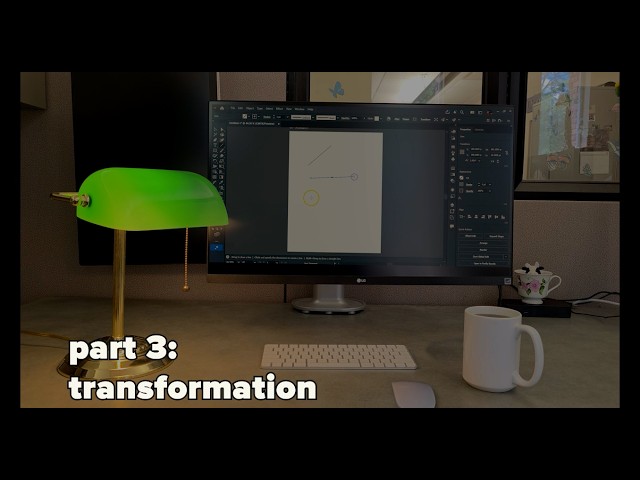
The video tutorial focuses on configuring the transformation toolbar in Adobe Illustrator 2026, specifically demonstrating how to manipulate the x-axis and y-axis using a grid reference system. The instructor begins by adjusting the horizontal axis, setting specific values like 92 to 100 to establish a precise left-hand side as the primary reference point for alignment. Similarly, the vertical axis is adjusted to bring lines closer together, emphasizing that the position of the reference point is critical for accurate placement and scaling within the workspace.
A significant portion of the lesson addresses the importance of selecting the correct diagonal area when drawing lines or shapes to ensure consistency in transformation angles. The presenter explains that while a 30-degree angle might not show noticeable differences regardless of the selection, changing the angle to 60 degrees reveals how the reference point shifts if the wrong diagonal is chosen. To avoid this issue, the tutorial advises users to always select the diagonal running from the lower left to the upper right, which ensures that reference points remain stable and predictable during complex transformations.
The guide further explores these principles using the shapes tool, noting that it functions similarly but often with greater ease due to its built-in matching reference points. By setting a rectangle's width to 100 and height to 200, the instructor demonstrates how the object moves from the lower right corner based on the selected reference point. To maintain a specific two-to-one proportion, the link between width and height is activated; consequently, doubling the width automatically doubles the height to 400, illustrating how linked dimensions streamline the resizing process while adhering to the established reference logic.
In conclusion, the video serves as a practical guide for mastering precise transformations by understanding the interplay between grid settings, reference points, and angle selections. The instructor wraps up by encouraging viewers to share their own tips or questions in the comments section, fostering a community exchange of knowledge. Additionally, the session promotes scheduling appointments with multimedia specialists and invites the audience to join future episodes of Multimedia Mondays for continued learning and skill development.
Read the full video transcript
Let's begin by setting our x-axis.
[music] To do that, we're going to need
to pay attention to this grid over here
in transform.
What I'm going to do is I'm going to use
my left-hand side to set as [music] my
reference point. So,
this line here is currently set at 92.
I'm going to put that at 100. I'm going
to move my base over just a little bit.
For this line here, I want to make sure
this is also set to that left-hand side
reference point. [music] We're going to
change this point here to 100.
Now, I want to change my y-axis. Like
before, where I set my reference point
matters. [music]
I'm going to change this to 150 to scoot
our lines a little bit closer together.
And now, I want to go in and change the
angle.
>> [snorts]
>> So, we already know our top one is set
to zero. Let me select our bottom line
here,
>> [music]
>> and we're going to set this to zero, as
well. So, now we have two parallel
lines, and to make them the same width,
we're just going to go through and
highlight our first one here. It's at
286. I'm just going to copy and paste
this.
So, we're going to select that line
here, and we're just [music] going to
copy and paste this as is.
You may have noticed so far that I've
been using this diagonal portion for
[music] our lines. That's not by
mistake. I want to choose, for example
here, I'm going to go to my left-hand
[music] upper side this time.
If I go from 30°, we're not going to
notice anything too different. However,
if I change that to 60°,
what happens is my reference point
starts moving. So, when you're making
lines, you'll want to make sure to use
this diagonal here, where you're going
from the lower left, middle, and upper
right. For our shapes tool, it's going
to work virtually the same. In fact, I
think it's a little bit easier in our
shapes tool because you'll notice
our reference points here match up
exactly with these reference points
here. And if I choose my lower
right-hand side and I choose 60° like
before, it's going to bring it down that
60°. Now I have my rectangle set, let's
go over here. I'm going to change my
width
to 100.
And I'm going to change my height to
200. And you'll notice that it's moving
from that lower right-hand side, that's
because I set that reference point
[music] there.
I want to keep this two-to-one
proportion here. So, I'm going to turn
this on so that way we're linked up.
>> [music]
>> Now, if I change my width from 100 to
200, my height will then change to
[music] 400.
Did you learn something? Did I miss
something? Is there a tip you have?
Well, let me know down in the comments.
You can schedule here to make an
appointment with our multimedia
specialists and tune in for our next
installment of multimedia Mondays.
>> [music]